In this live episode, I’ll be hooking you up with the best equipment for doing online video. But before we start, there’s something very important that I have to say:
The equipment doesn’t matter as much as the actual content.
It doesn’t matter how professional your setup is or how much money you invest in fancy stuff if your content isn’t there. Equipment is just a tool that helps you tell a story. The content is where it starts.
But if you’re ready to take your videos to the next level and make yourself look and sound more professional, then this is the episode for you!
Webcams
Let’s start by looking at a basic setup for recording videos from your computer. This is great for Skype interviews or for recording yourself in front of a webcam on a Mac or PC.
Many laptops come with a built-in webcam, and you can just use that. It works. It gives you a decent quality.
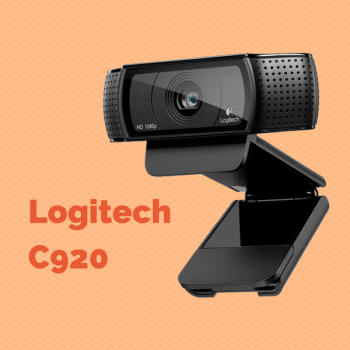
But if you want to step it up to the next level, there’s only one webcam for the job. It’s the Logitech C920 webcam. This is an HD webcam, which gives you significantly higher quality.
However, if your video is awesome, but your audio sucks, people will notice. People are actually more likely to notice low-quality audio than low-quality video.
If you just use the microphone on your computer, the quality won’t be as good. You’ll get background noise from the room, and your voice won’t be as clear.
So how do you increase your audio quality? You buy a microphone.
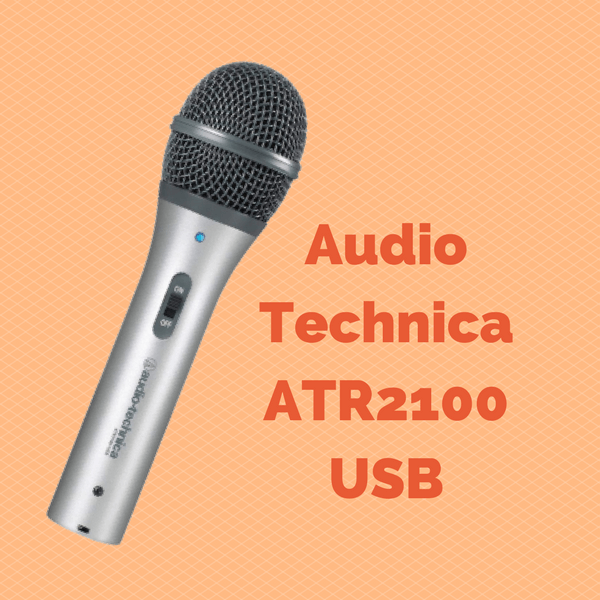
The one I recommend for most people to start with is the Audiotechnica ATR 2100 USB.
I love this microphone because there’s a USB port, so you can connect it directly to your computer. That means I can just plug it into my laptop and start talking.
There’s also an XLR port, which allows me to plug it into a mixer or an audio interface. So if in the future you expand and set up a podcasting studio, you could still use this microphone. That’s why I highly recommend it!
Equipment for Smartphones
Now let’s say you want to step it up a little more. You don’t just want a webcam, you actually want a high-quality video camera.
Start with your phone. I have an iPhone 6 Plus, and the camera on this thing is amazing. I have seen some very high quality video production done with an iPhone!
I can just use that device by itself. But I can also add accessories to crank it up a notch.
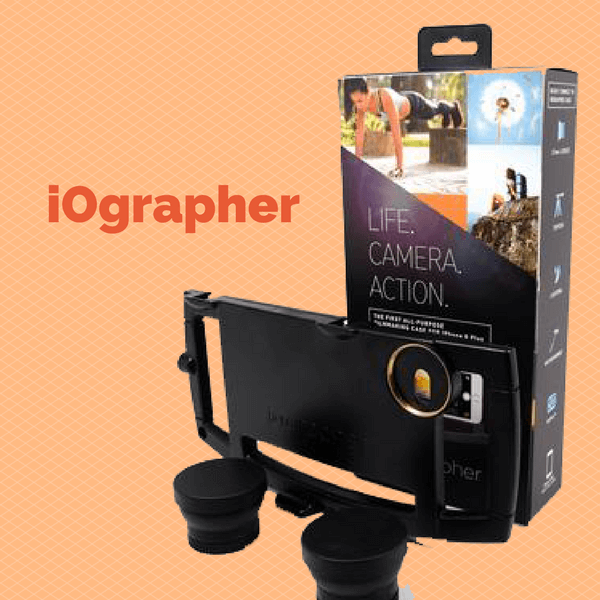
First, the iOgrapher. This allows me to hold my phone with two hands and get a much steadier video. You can also get lenses to connect to this device to make your video even better. It has mounts so that I can connect a microphone, or lights, or other things that will expand the functionality of the phone. It can also mount to any standard tripod. Pretty cool.
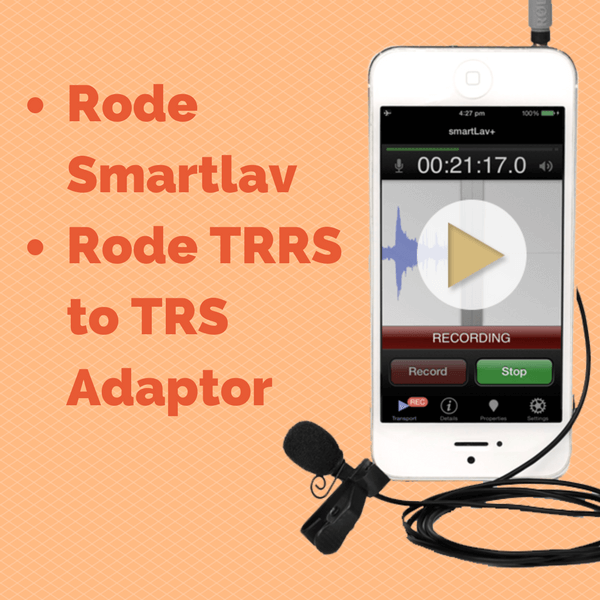
You can also get lavalier mics or lapel mics that connect to your phone. What’s great is that this puts the mic really close to your mouth, which helps you get clear audio. The one that I recommend the Røde SmartLav Plus.
You’ll also need a TRRS to TRS connector. This plugs into your phone, and then you can plug a microphone into the other end. That way, the mic will pick up sound for the video you’re doing on your phone.
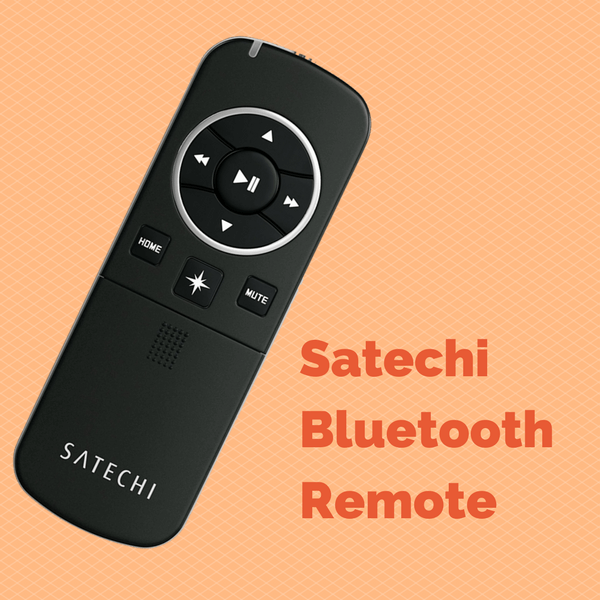
One last device that I recommend if you’re using a smartphone: a Bluetooth remote control. The one that I have is a Satechi.
This allows me to easily press “play” if I have the phone set up on a tripod or somewhere that’s not within reach. It also has volume control, previous and next buttons, and a mute button. It even has a keypad built in! This one is a little more expensive than some, but I like it because of the functionality it gives you.
Point and Shoot Cameras
So now you want to step up from the smartphone, but you don’t really want a DSLR. That’s where point and shoot cameras come in.
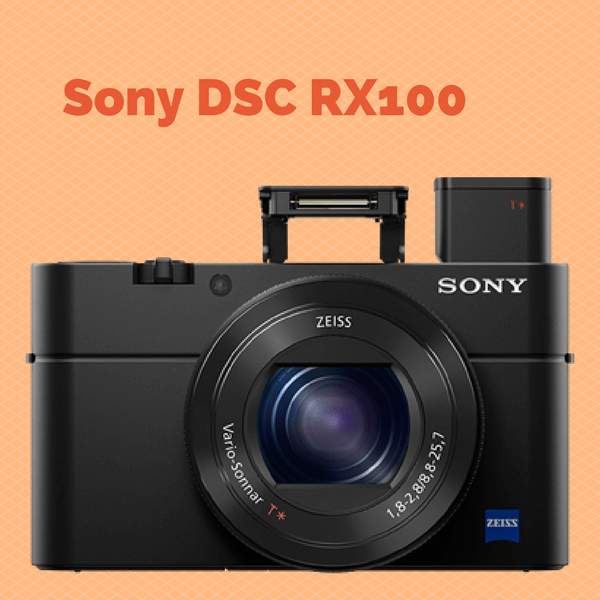
I have the Sony DSCRX100. There are different versions of this camcorder. I have the Mark 2, there’s also the Mark 3 and the Mark 4. Mine is a few years old. Mark 3 and 4 are newer.
This camcorder gives you a really high quality video, better than iPhone.
It doesn’t have a traditional microphone input, which doesn’t give you all the functionality, unfortunately.
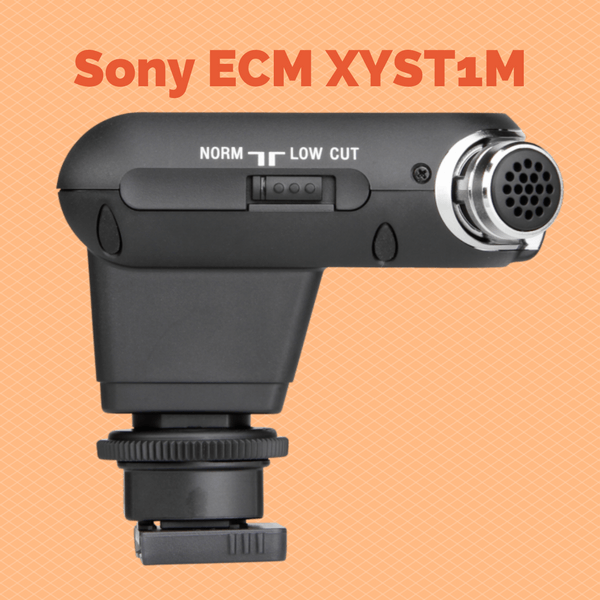
However, it does allow you to connect a Sony microphone (ECM SYXT1M), which is a shotgun microphone. Mine has a stereo option and comes with a “dead cat,” which is a fuzzy thing you can put over the mic to help cut out background noise like wind.
DSLR
The next step up is a DSLR. These are a little bulkier, a little heavier, and more inconvenient to carry around. But if you know what you’re doing, the quality just doesn’t get better.
You have more manual control with a DSLR, which is a very good thing.
I’m using a relatively old one: a Canon 60D. They don’t even make it any more! But it still works, and you could still get it used for probably $300-400.
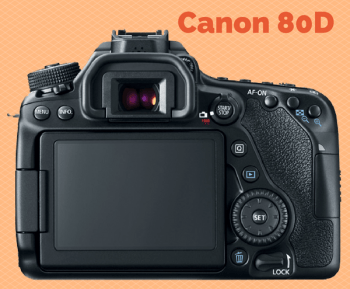
The latest version is the Canon 80D, and that one has a touchscreen. So on an 80D, I can tap on your face and it will focus on your face. It also has better autofocus. But it’s going to be more expensive.
If you’re using a DSLR, the lens makes the video or the picture. The better the lens, the better the image.
Once you’re in a particular “ecosystem” for DSLR–whether it’s Canon or Nikon or whatever–you’ll probably stick with it because you’ll start buying lenses. I have a Canon, and if I were to buy a Nikon, I couldn’t use any of my Canon lenses
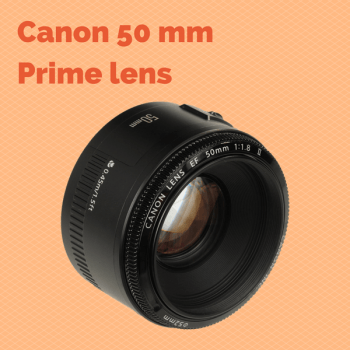
There’s one affordable lens ($125) that you absolutely have to invest in: a prime lens. It’s 50mm fixed, and what’s awesome about this is that it has a very low aperture number: F1.8.
Aperture is a measurement of the diameter of the lens; an F1.8 lens lets in a significantly higher amount of light, which allows you to get higher quality images even in low light. It also gives you shallow depth of field, which means that it’ll focus on me and the background will be really blurry. This is the best $125 I ever spent. You need this lens.
The downside to the 50mm is that it’s fixed, so I can’t zoom with it. I have to be about 5 feet away from the subject. If I want to zoom, I need another lens.
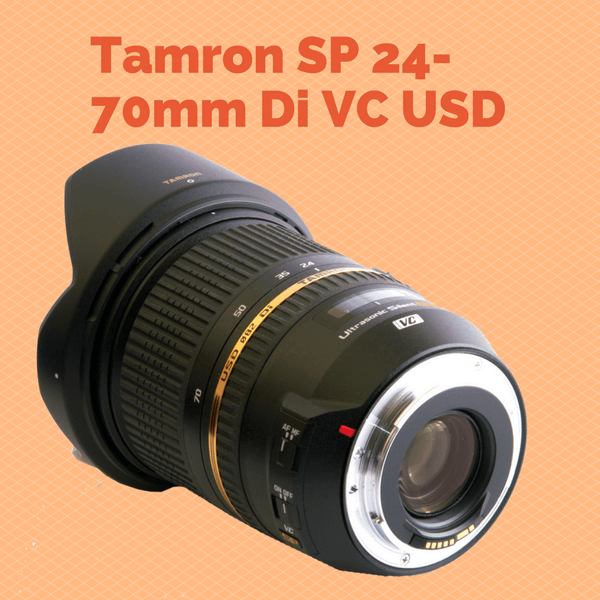
My go-to all-purpose lens is the Tamron SP 24-70mm F2.8. The aperture number, F2.8, is still pretty low, so the video is very high quality.
If I’m at an event, or if I’m filming my kids at home, this is most likely what I’m using. It is a monster, size-wise, but it allows me to really get in there are really do interesting things. This is my go-to lens for just about everything unless I’m at home in my studio, with my camera on a tripod.
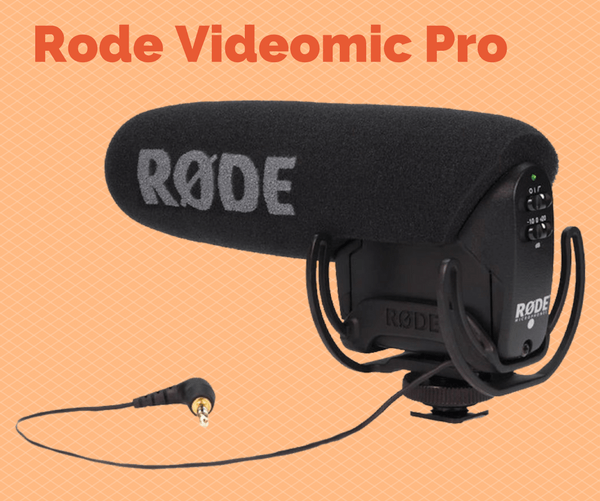
When I am using my DSLR, there are different microphones that I use. When I’m running around and it’s not just me that’s talking, I use the Røde VideoMic Pro. It’s a shotgun microphone. That means it’s going to pick up what it’s pointing at, and not much else.
It’s similar to the boom mics you see on TV shows or things like that. The benefit is that you don’t have to have a lapel mic, which is visible on the video.
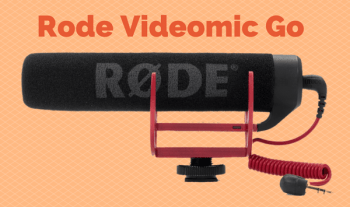
There’s also the Røde VideoMic Go, which is a bit more affordable. It’s not as professional, but it still gets the job done.
These mics will also connect to your DSLR or your phone if you have the adapter I mentioned earlier.
Facebook Live
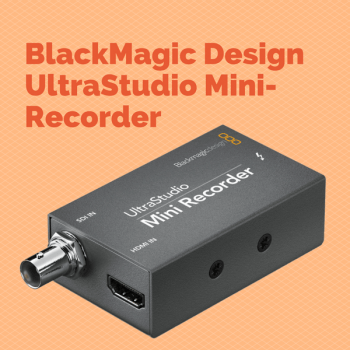
How am I going live using a DSLR or a camcorder? With my Blackmagic Design UltraStudio Mini Recorder! This allows me to connect via Thunderbolt to my computer, and then connect my camera through HDMI.
The program that I use to live stream is called WireCast, and I love it!
Equipment Used for This Episode
The lapel microphone that I’m using in this broadcast is the Sennheiser EW100G3. It has a transmitter that is connected to the person speaking, and a receiver that is plugged into the camera. This one is pretty pricey, but there are more affordable models out there (even down to $100).
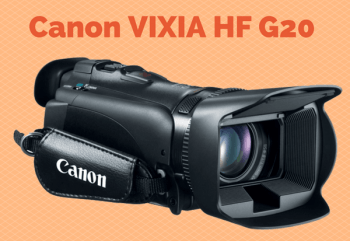
I’m also using a Canon Vixia HF G20 camcorder tonight, because the Canon 60D shuts off after 30 minutes. With the camera I’m using, I could do this live broadcast for hours and it would keep going. It’s not a DSLR camera, so you can’t use your DSLR lenses with it.
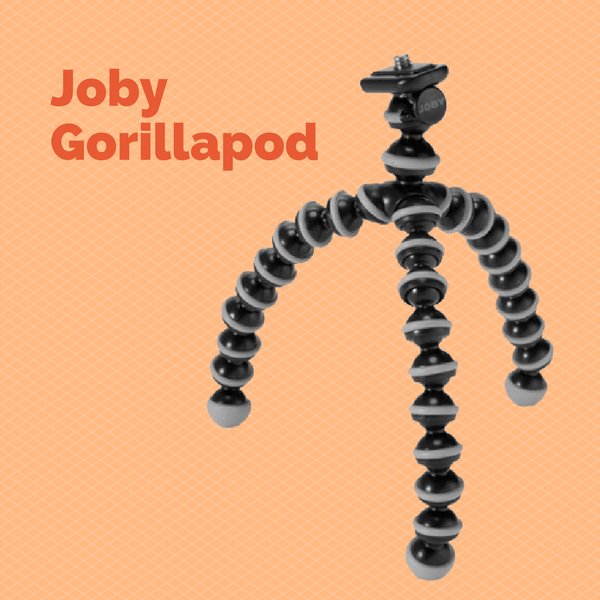
I would also recommend the Joby Gorillapod. It’s basically a small tripod that can be used to hold just about anything. Right now I’m using it to hold my webcam, but I can also use it to hold my DSLR. It’s great for getting stable video.
I’m using two soft box lights for this video. I use two so that both sides of my face are lit evenly.
I don’t like them because they are HUGE. They’re not very portable.
However, there are so many smaller lights on the market right now. LED lights are great because they don’t get hot and they’ll fit in a backpack. I don’t have those myself, but the one that has been recommended to me is Neewer Dimmable Bicolor LED.
There’s also a product called the Diva Light that goes around your camera and does a great job of lighting your face. You can get a small one that plugs into your phone, too.
In this episode, I also have a light behind me on the floor. This helps to put some separation between me and the background.

Lighting really adds quality to your video. If you’re in a place where you’re stationary, I highly recommend having some kind of lighting. But make sure you test it out. The setup you need depends on the room you’re in.
Finally, I’m using a teleprompter to see live comments for this episode: Pad Prompter. The teleprompter has my iPad in it, which is being projected onto the teleprompter screen.
To set this up, I installed a script on my server. You can find it on GitHub. It’s open source, and I was able to install it and configure it to show any comments on the live streams of my video.
Resources Mentioned
Infographic
